Create a VPC and related resources
You can attach an existing VPC to your deployment or create a new one, either from the Cloud Settings page in the CelerData Cloud BYOC console before you create a deployment or as part of the workflow of creating a deployment.
To create a VPC and its related resources, follow these steps:
-
Sign in to the AWS VPC console as a user with administrator privileges.
-
In the upper-right corner of the page, select your AWS region.
-
In the left-side navigation pane, choose Your VPCs to display the Your VPCs page.
-
Click Create VPC to display the VPC settings page.
-
In the Resources to create section, select VPC and more.
-
Modify the following options as instructed and retain the default settings for the others:
noteYou can use public network or Private Link with S3 Gateway.
If you want to use Private Link with S3 Gateway, you do not need to configure public subnets and NAT gateways.
- For Name tag auto-generation, enter an informative name tag.
- For Number of Availability Zones, choose 1 if Multi-AZ Deployment is not available or you do not want to enabled it, or choose 3 if you want to enable Multi-AZ Deployment for the elastic cluster to be deployed under the VPC.
- For Number of public subnets, choose 1.
- For Number of private subnets, choose 1.
- For NAT gateways, choose In 1 AZ.
The following figure shows the VPC settings.

-
Click Create VPC.
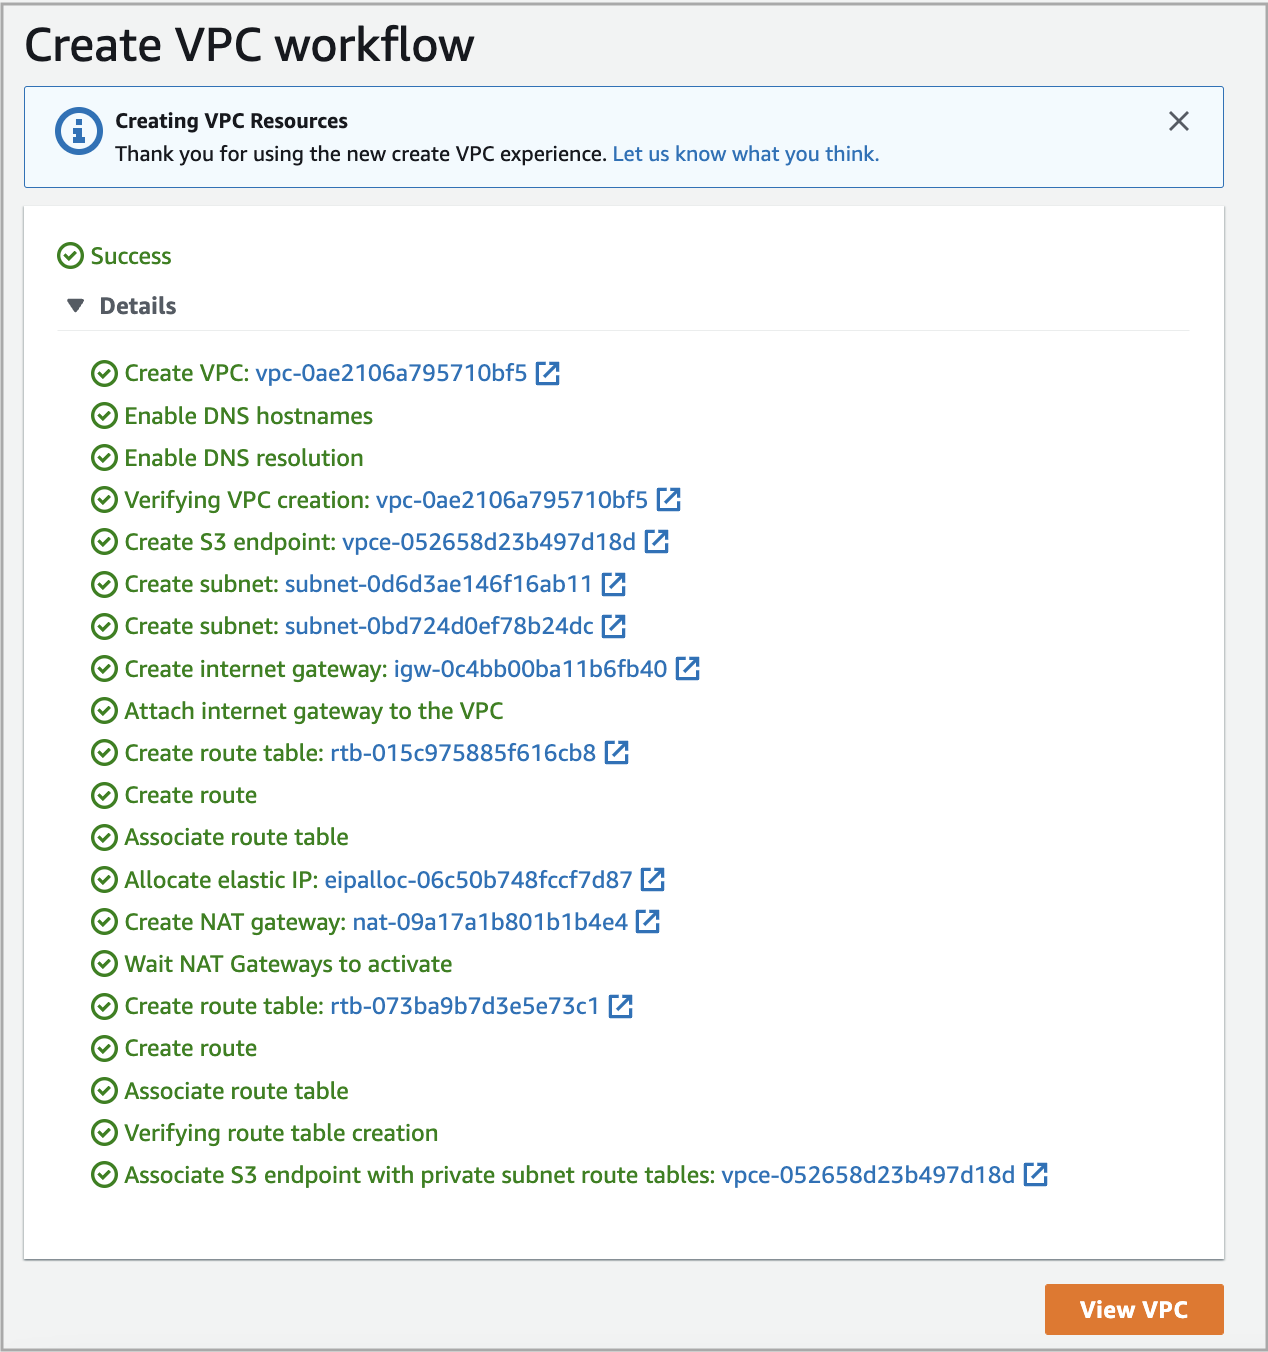
The Create VPC workflow page appears, showing the VPC creation progress.
When the workflow is finished, similar information as shown in the following figure appears.

The VPC that you just created is shown on the Your VPCs page.